Cart 0

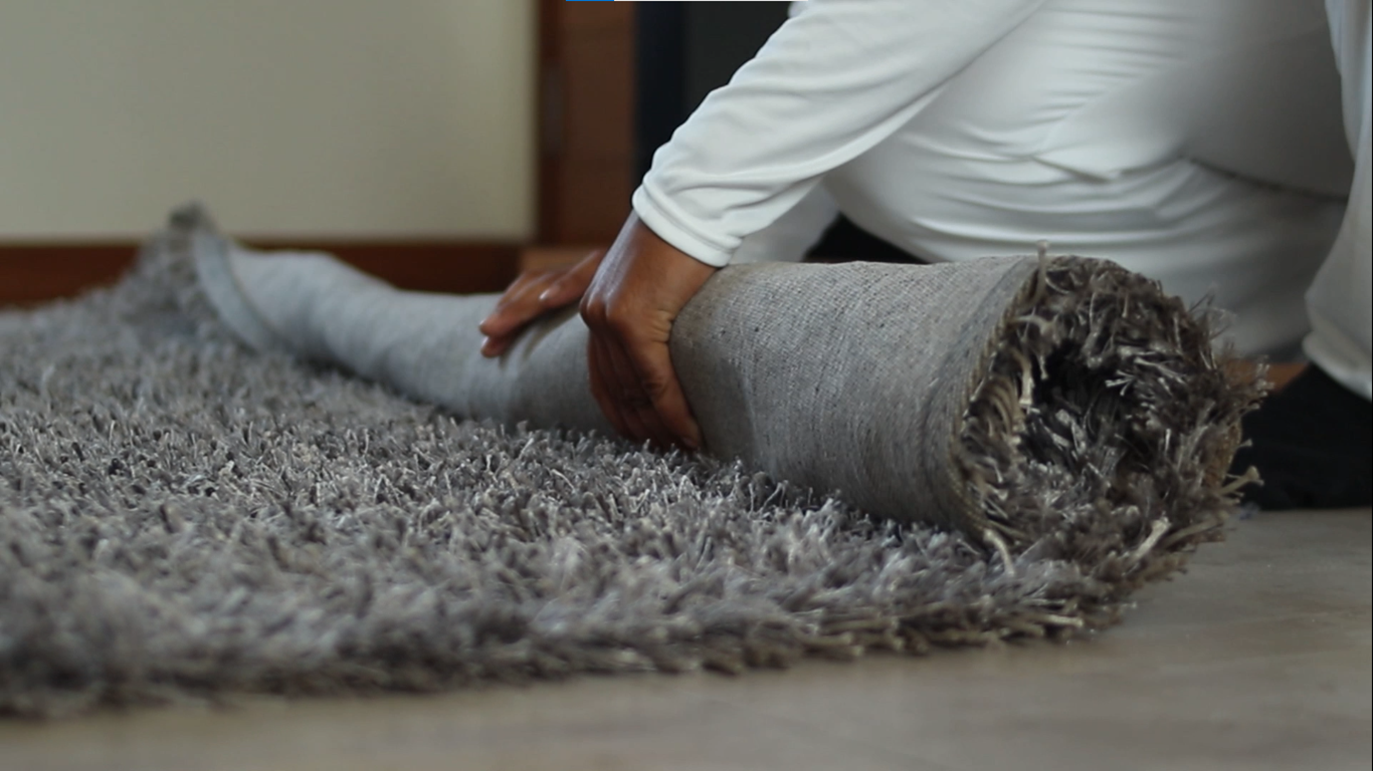
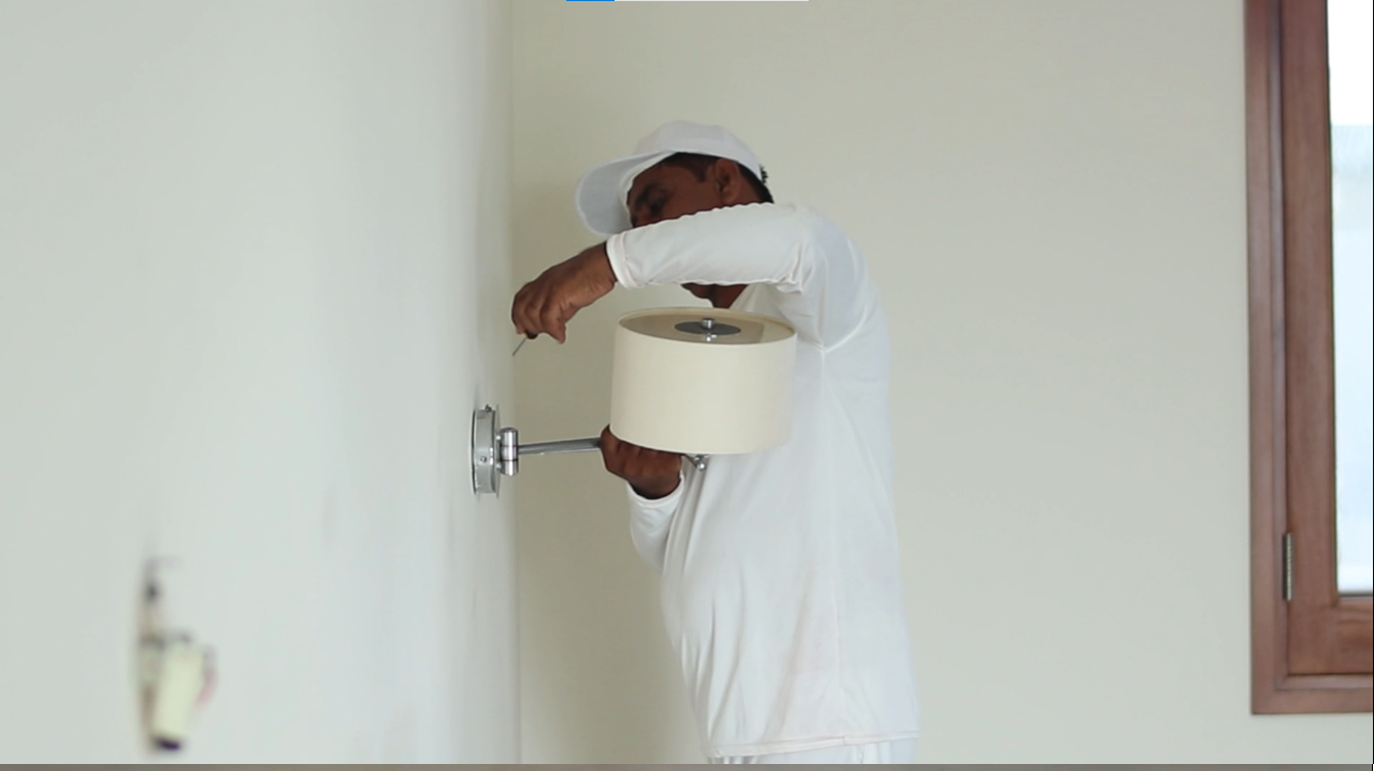
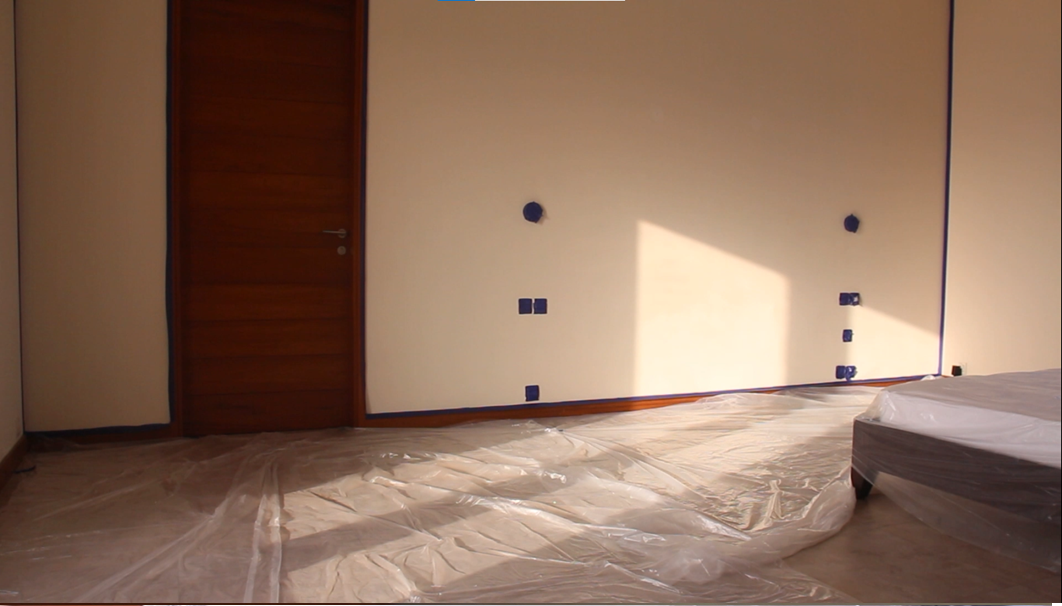
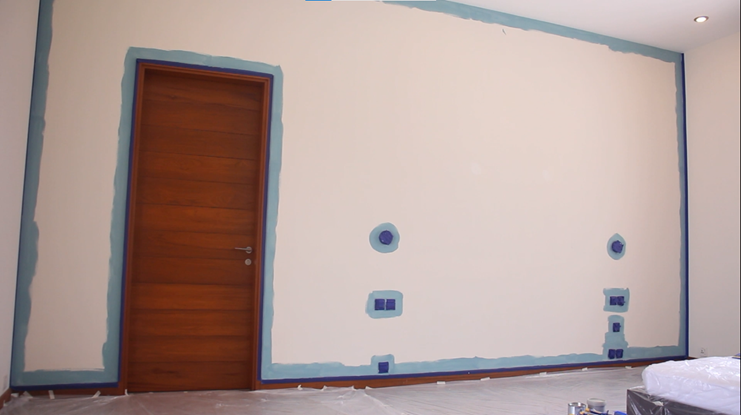
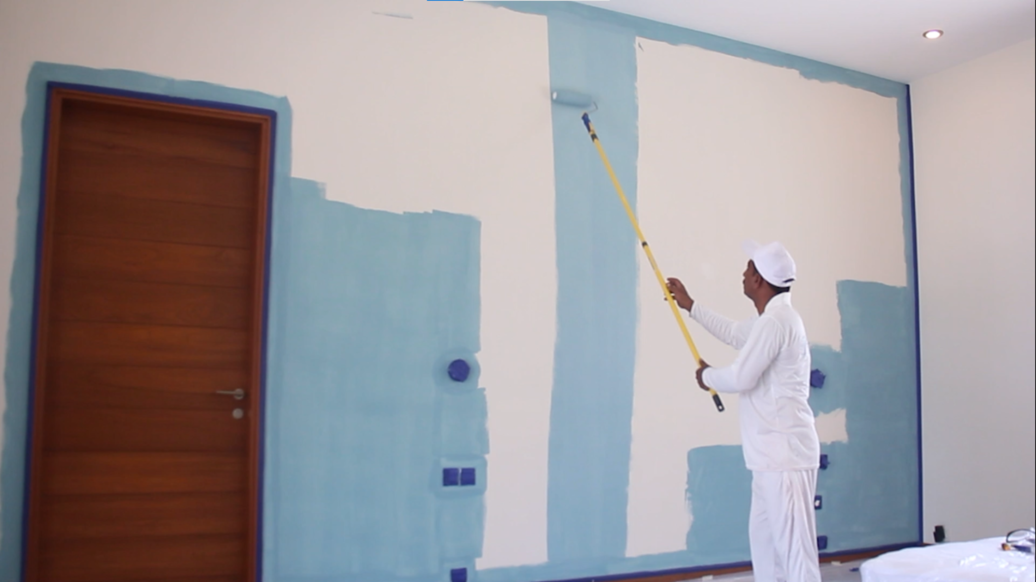


Revitalize your space with a lighter look! Learn how to seamlessly transition from a darker wall color to a lighter one
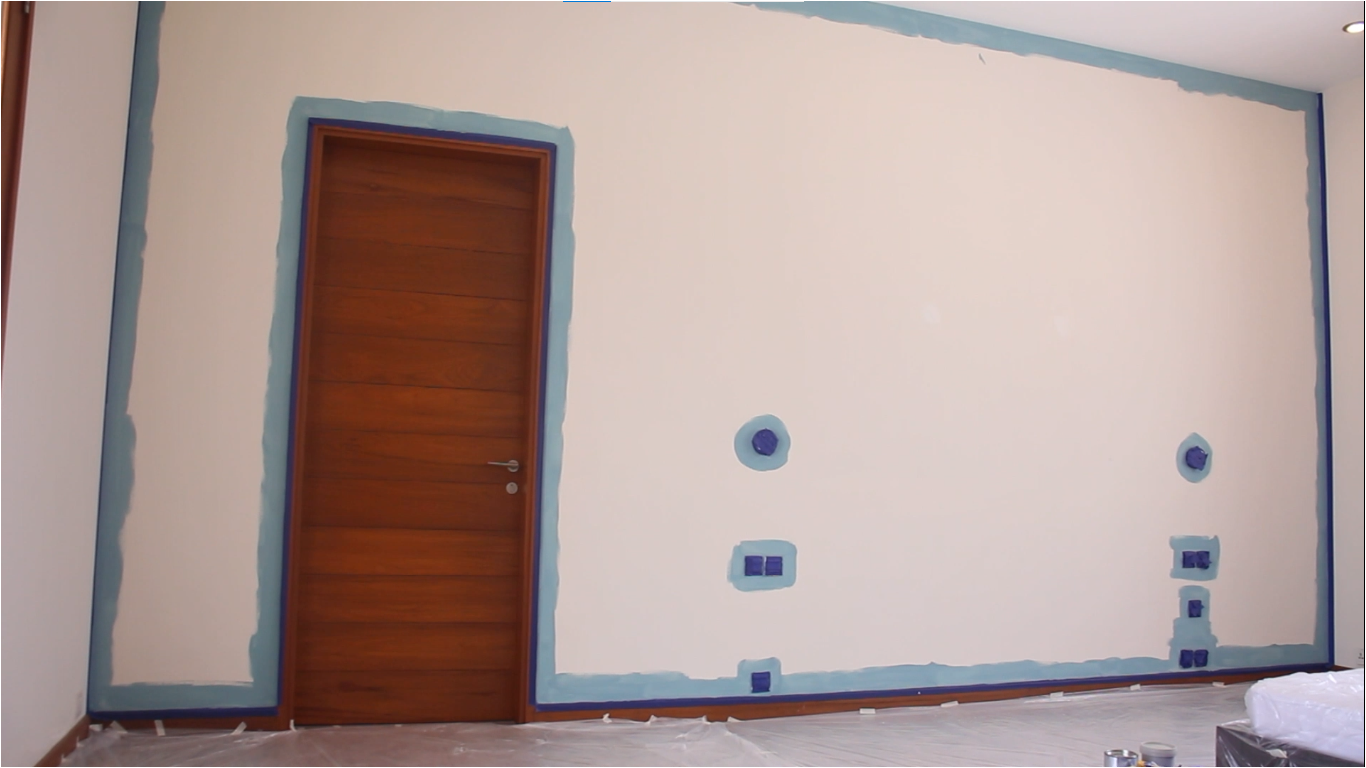
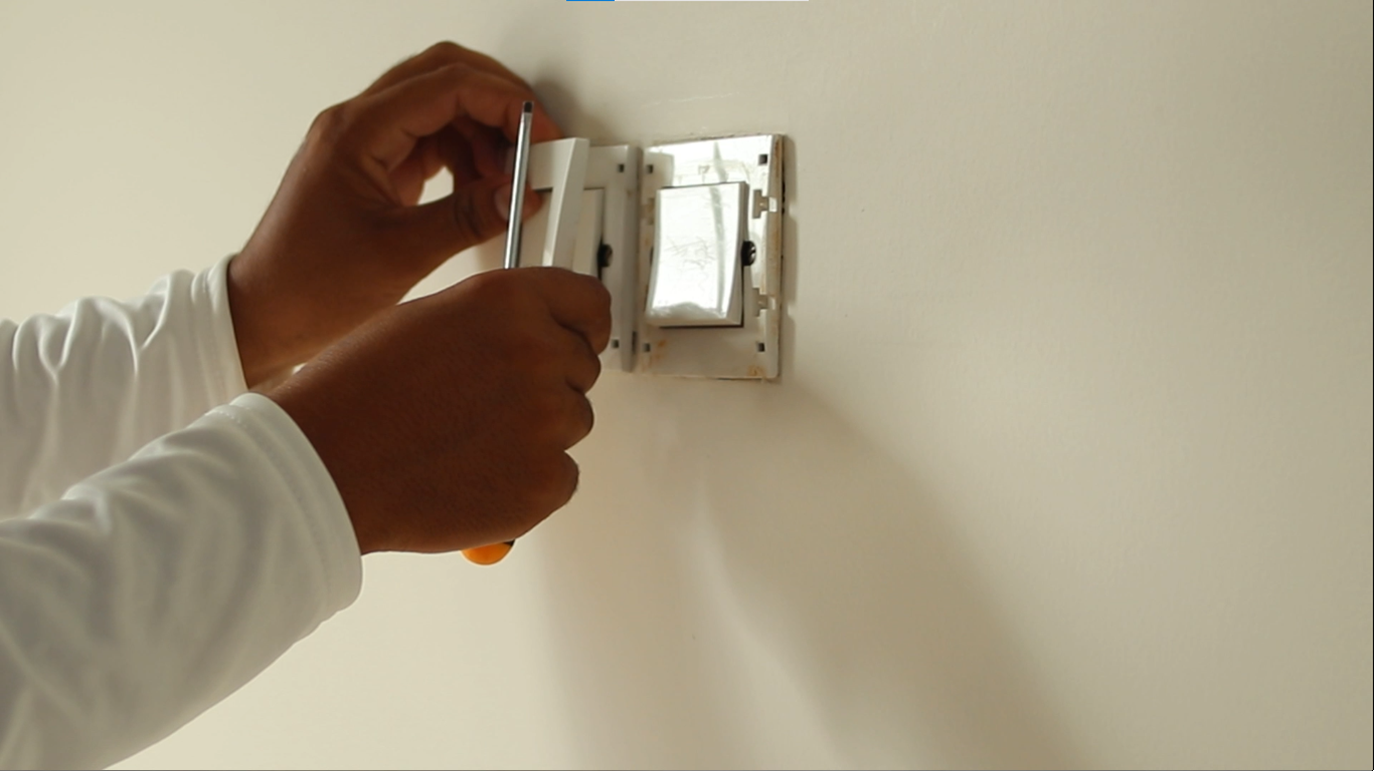
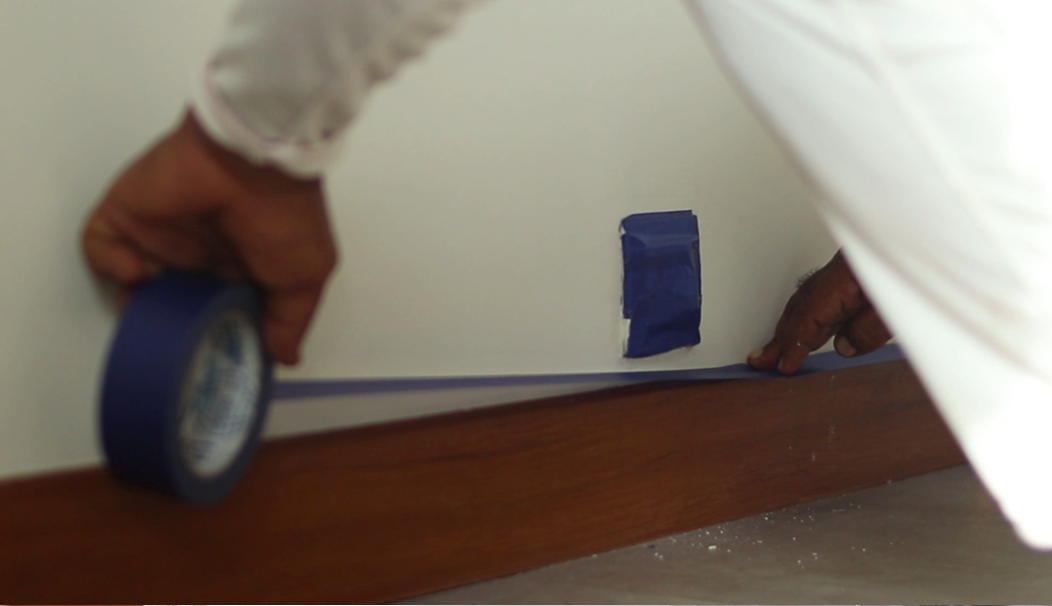
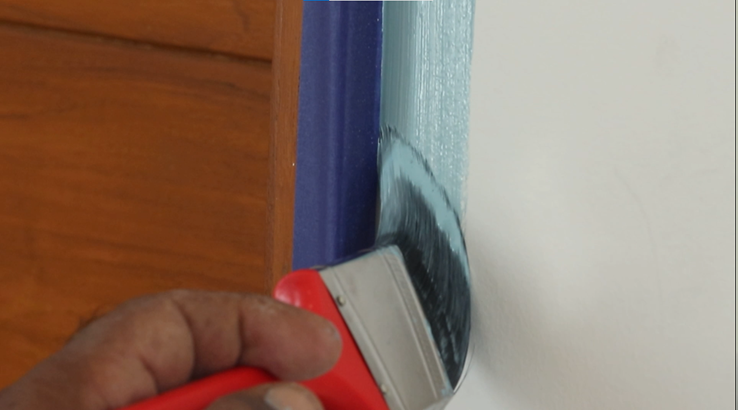
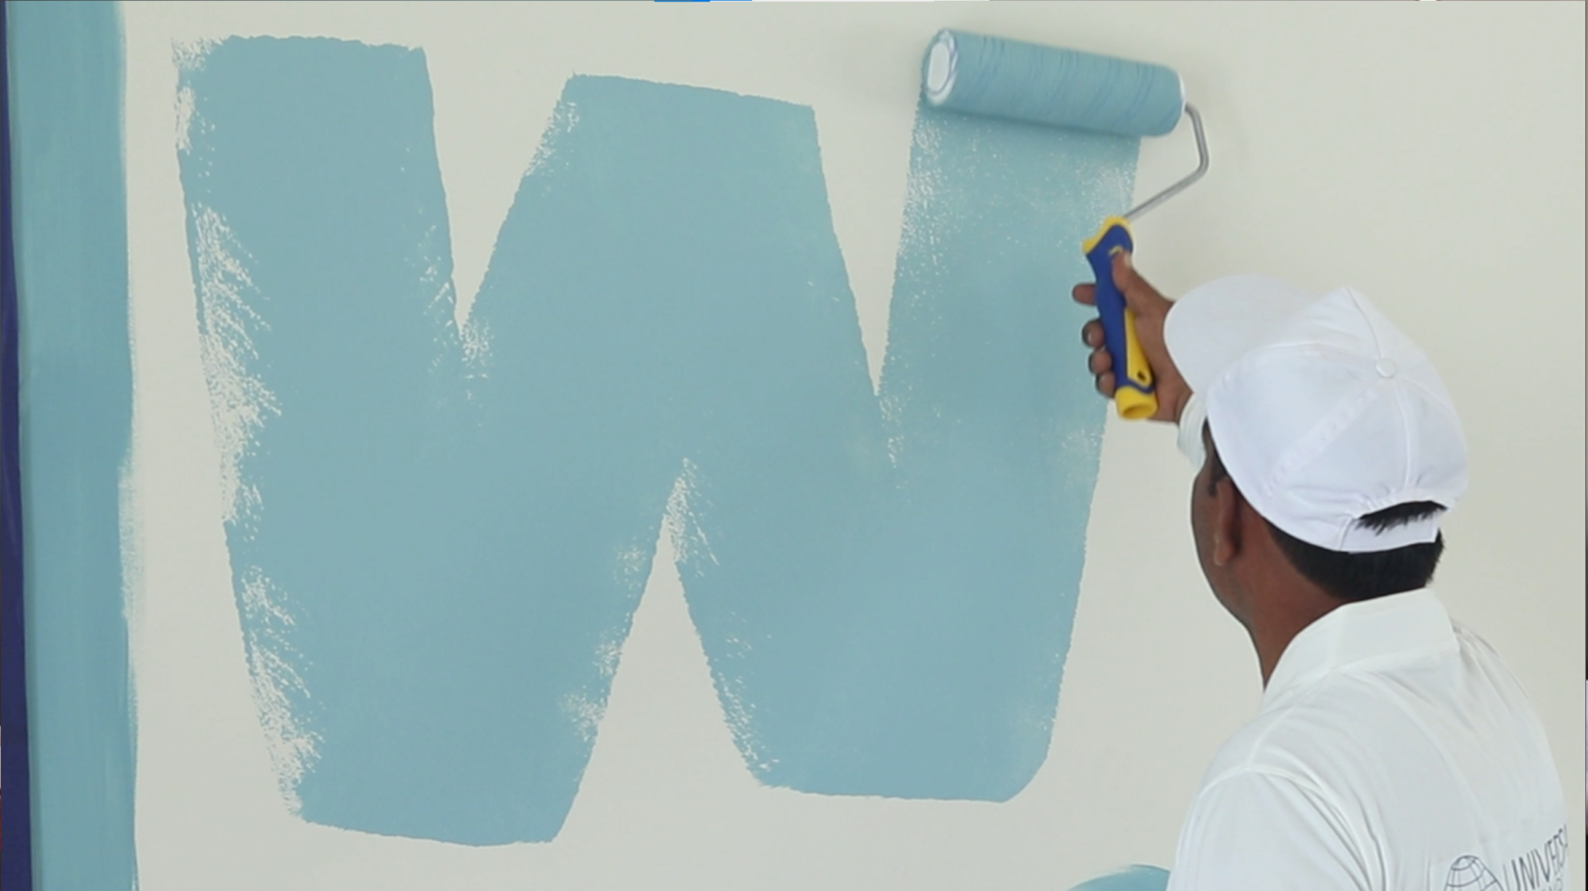
Master the art of precision with our guide on ‘How to Cut In Around the Edges.’ Discover the techniques for achieving clean and sharp lines while painting walls