Cart 0
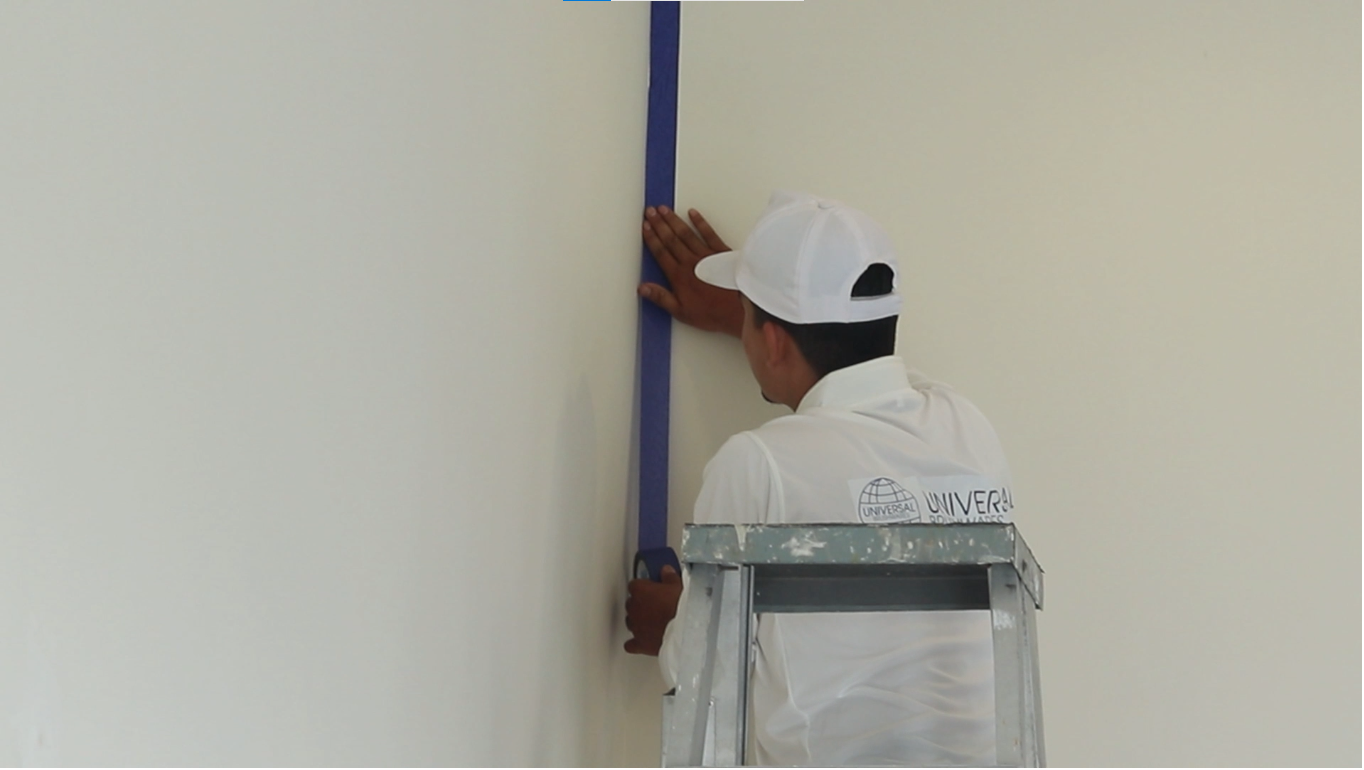

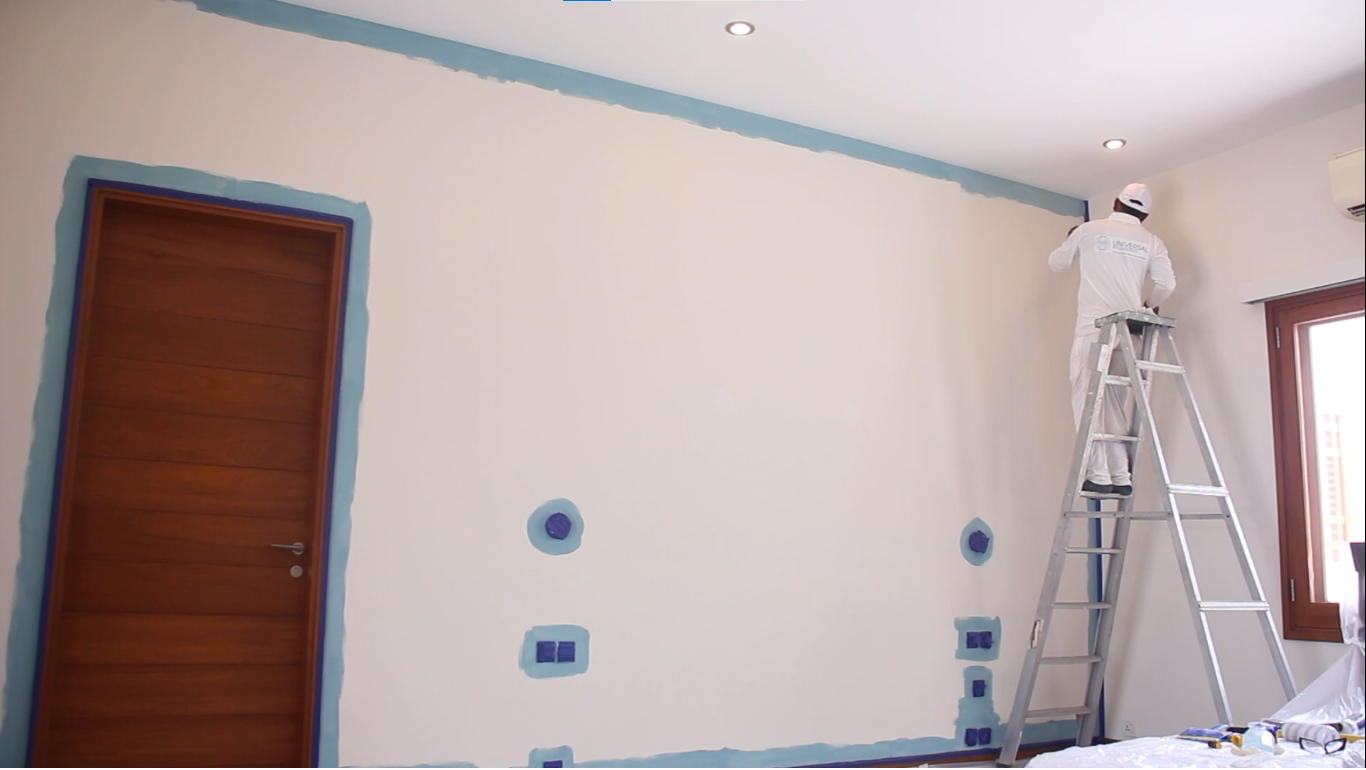
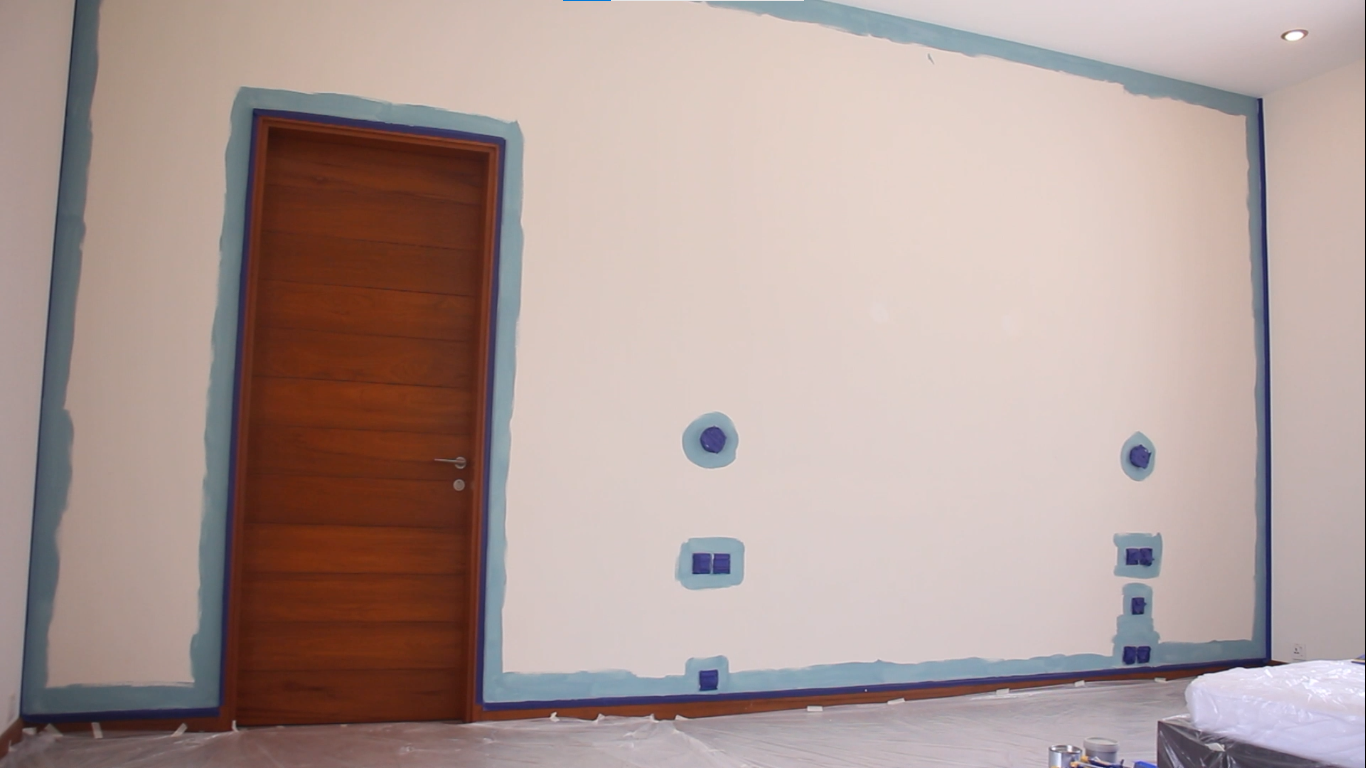


Revitalize your space with a lighter look! Learn how to seamlessly transition from a darker wall color to a lighter one

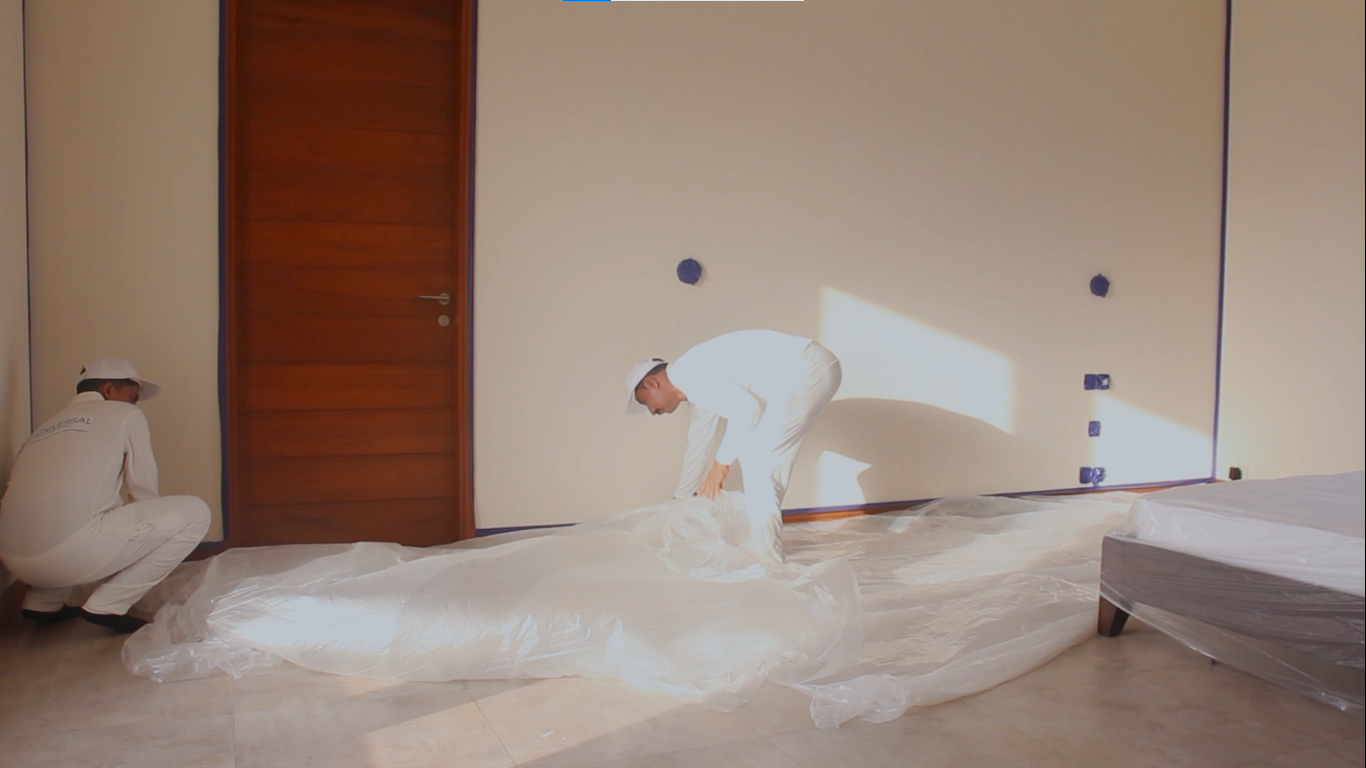
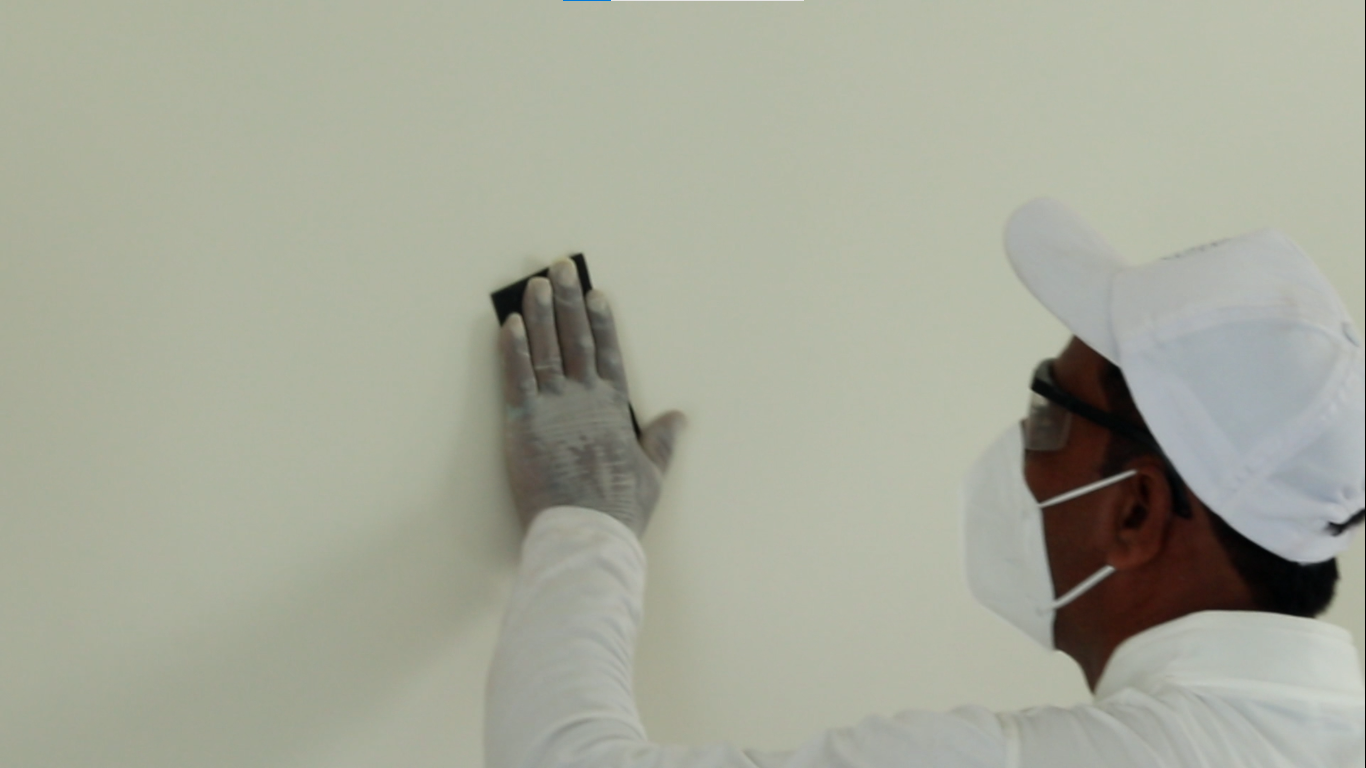
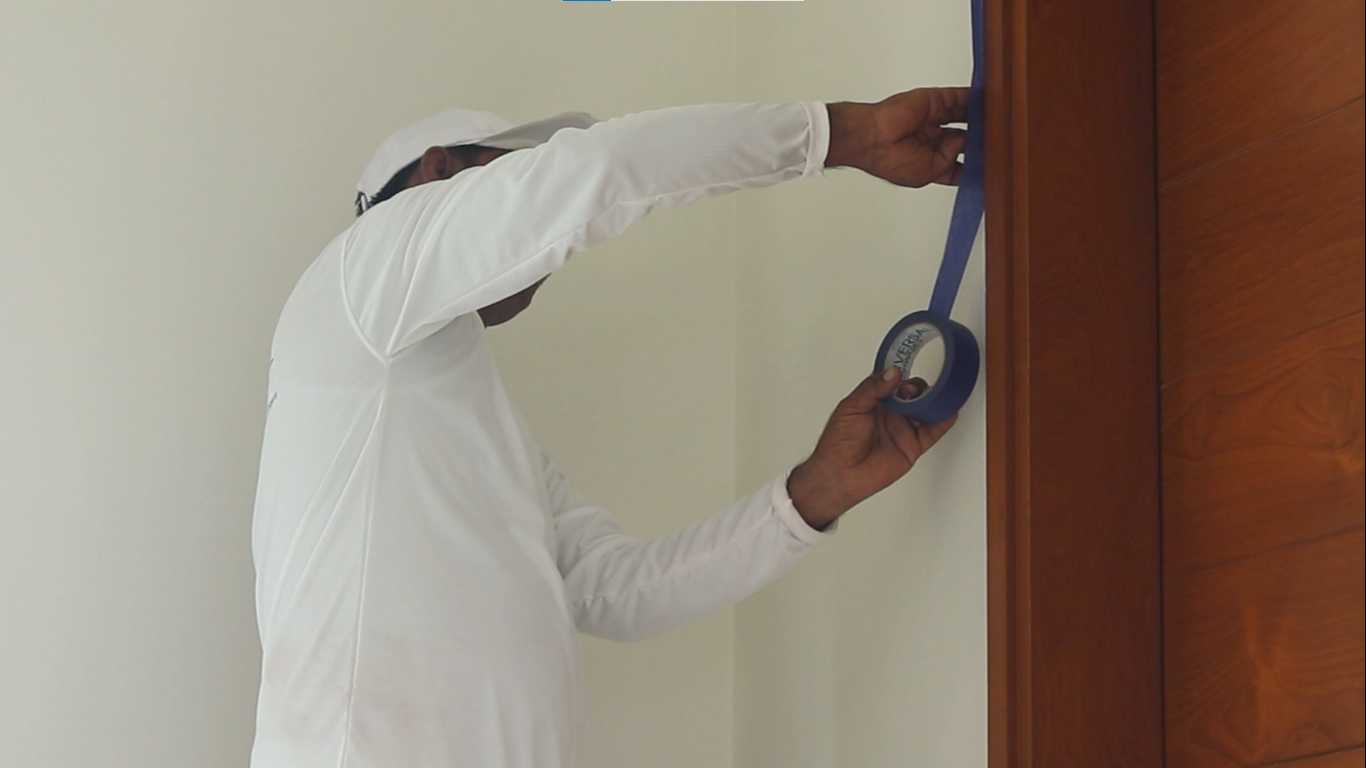
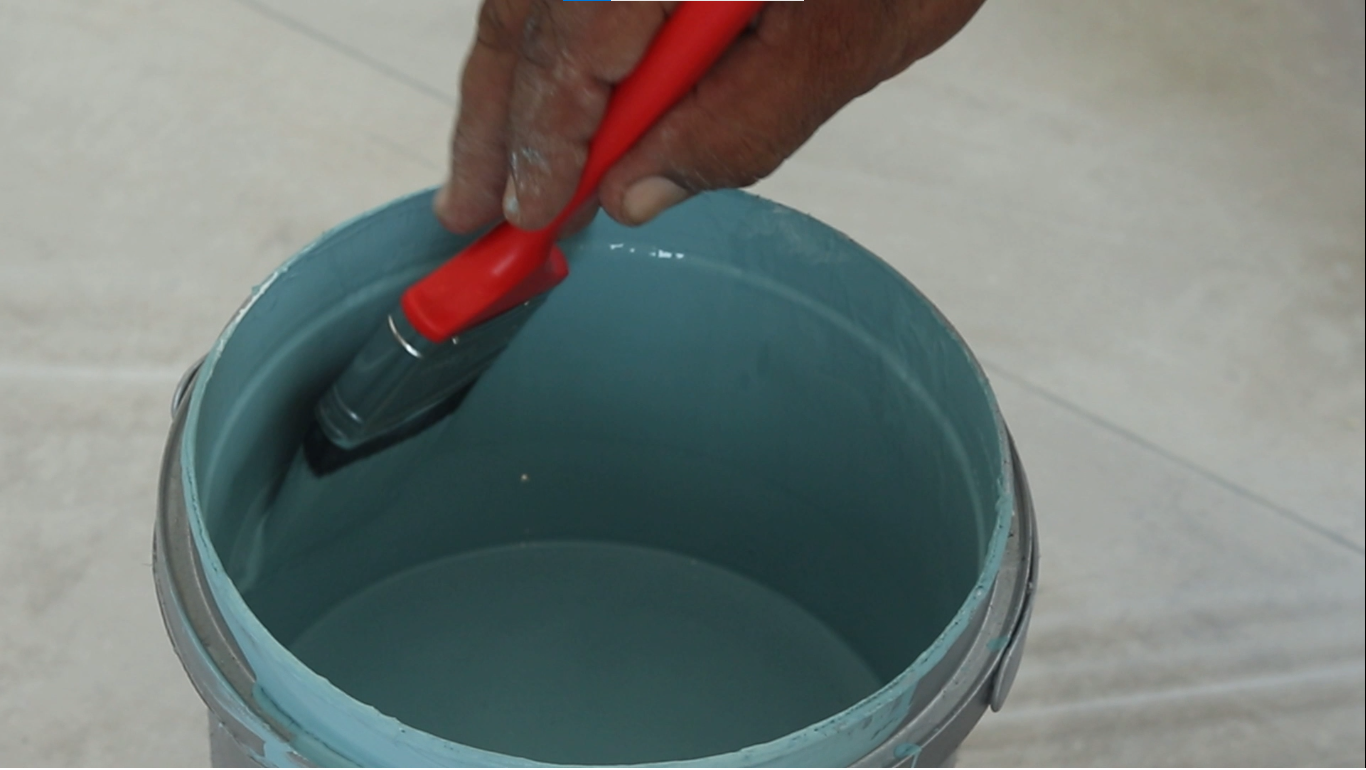
Welcome to our comprehensive guide on “How to Paint a Wall.” Whether you’re a DIY enthusiast or a beginner