

How to Paint Dark colored walls with Lighter color Universal Brushwares. step-by-step guides and
tutorials
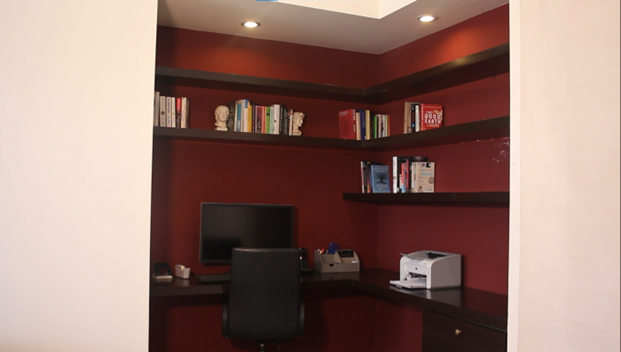
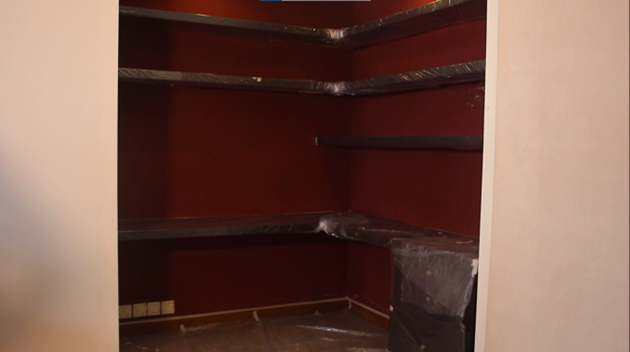
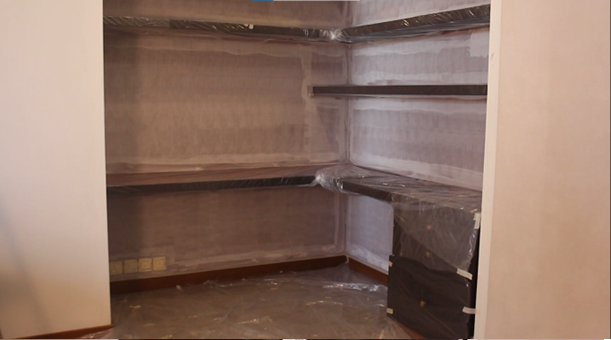
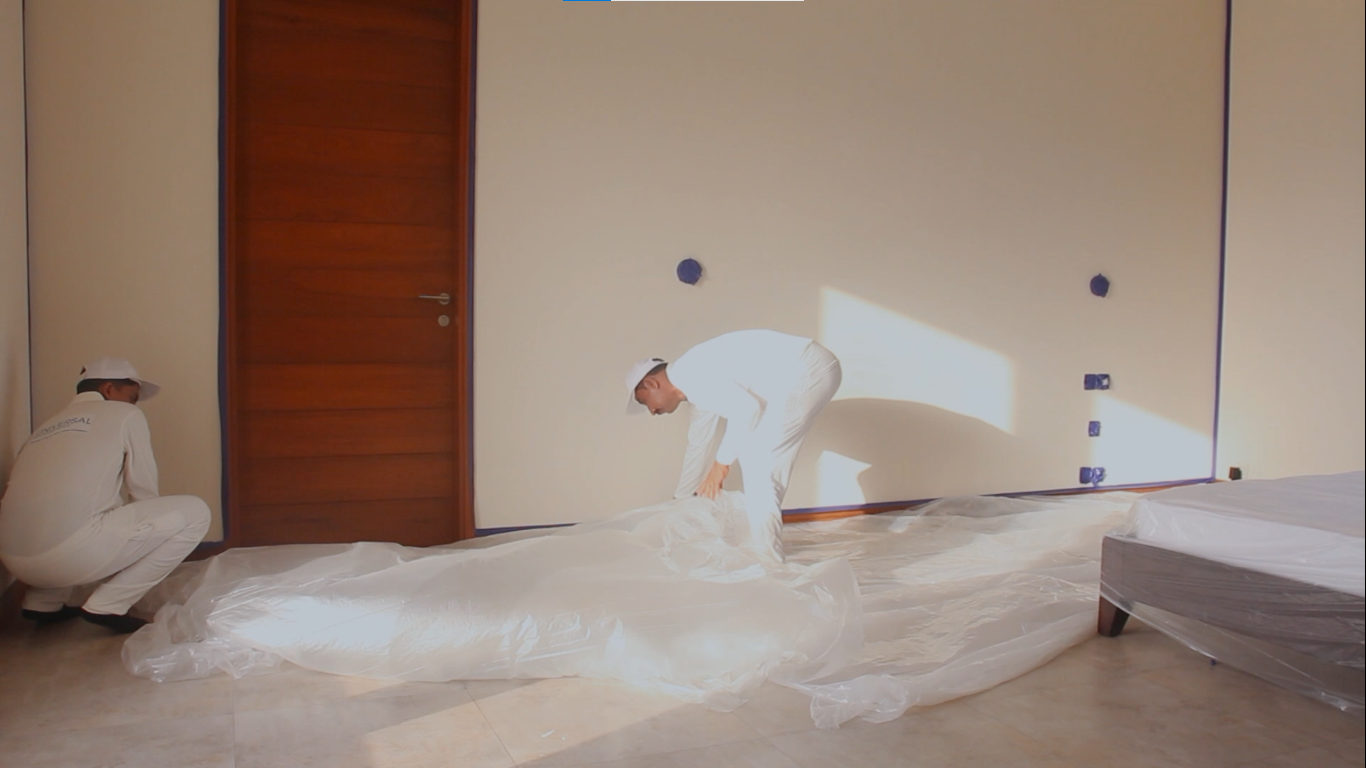
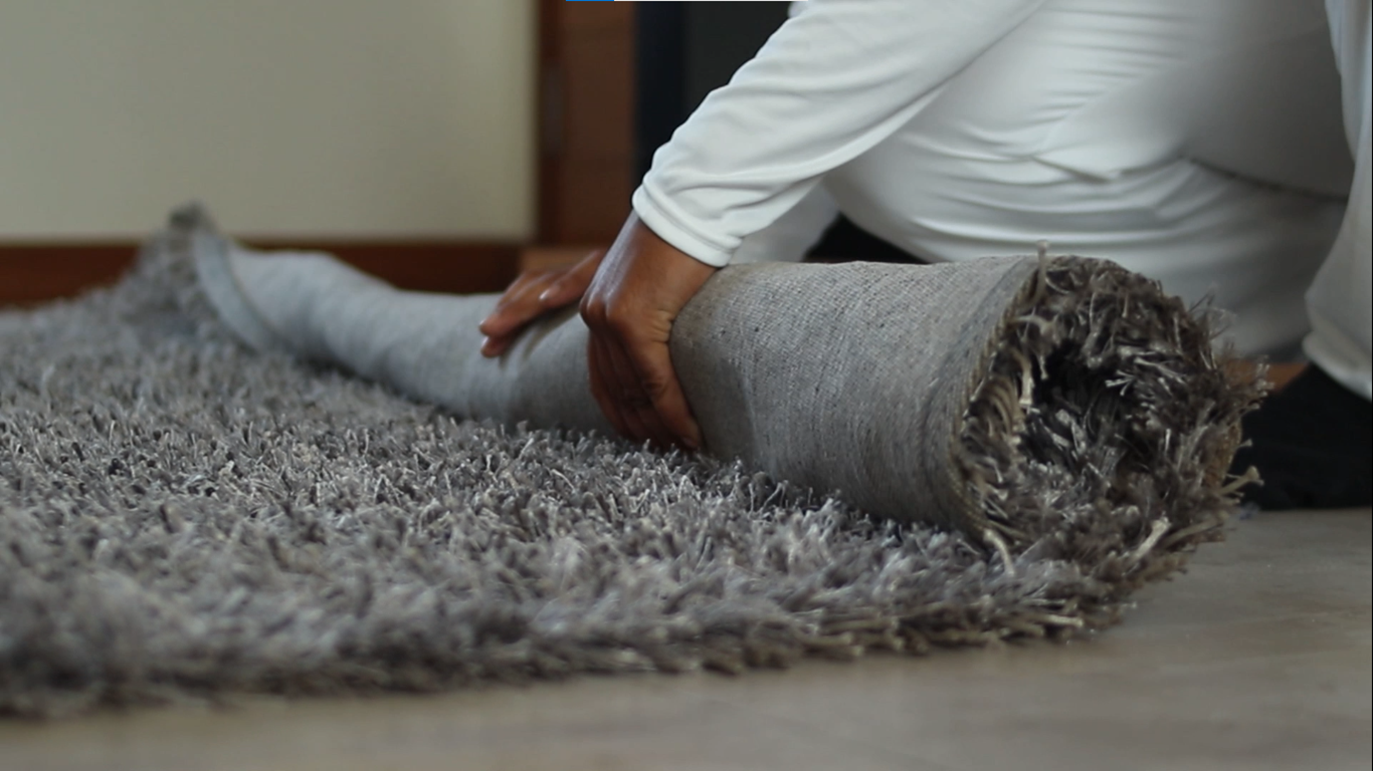
Start by removing all furniture and items from the room. This will create a spacious and
clutter-free environment for your painting project.
Start by removing all furniture and items from the room. This will create a spacious and
clutter-free environment for your painting project.
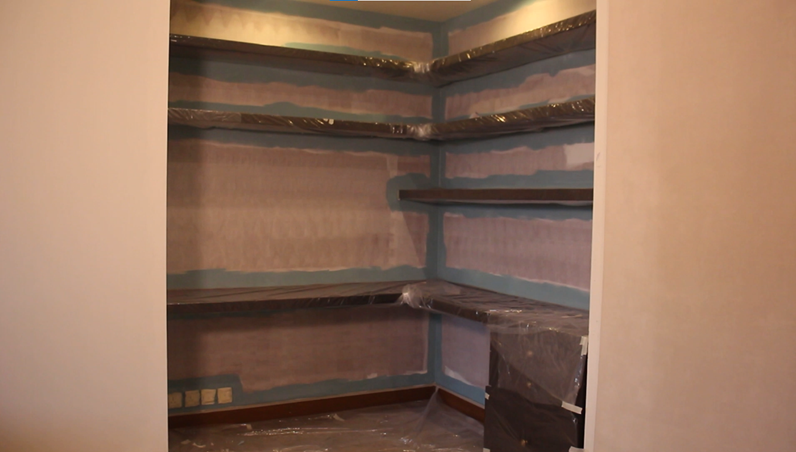
If you’re transitioning from a significantly darker color to a lighter one, applying a primer can be beneficial.
Primer helps to prevent the old color from showing through the new paint. Follow the manufacturer’s instructions
for drying times.
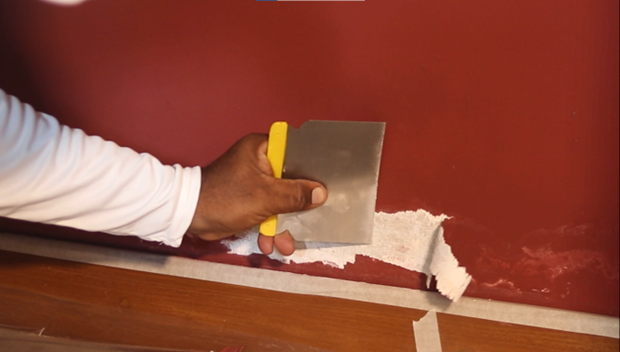
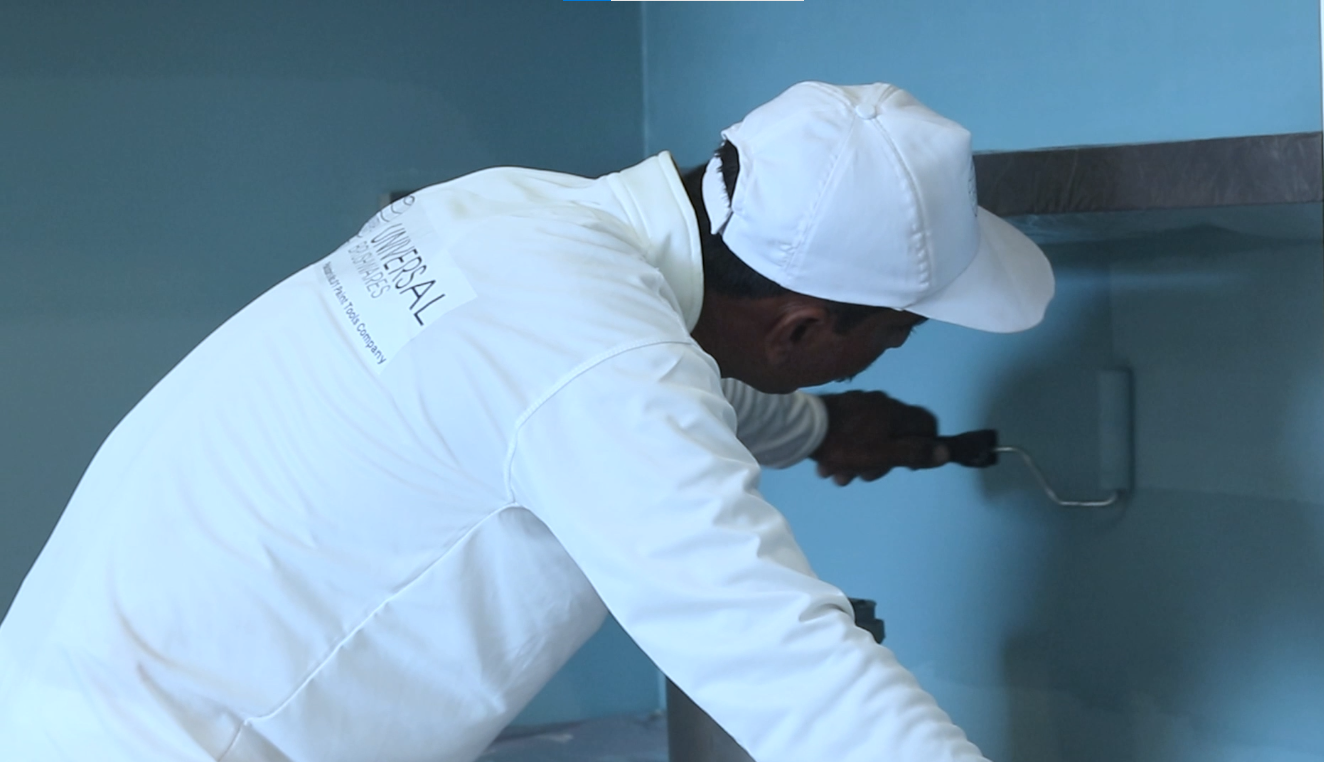
Begin by using a high-quality paintbrush to carefully paint along the edges and corners of the wall.
This process, known as “cutting in,” ensures clean lines and sharp edges.

With the edges painted, it’s time to use a roller for the main wall area. Start by applying the
light-colored paint. Work in manageable sections, overlapping each pass slightly for even coverage.
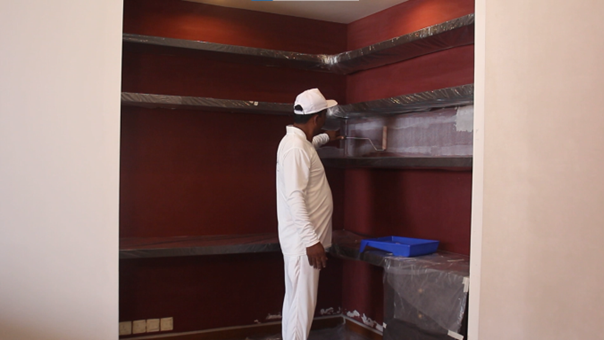
In most cases, you’ll need to apply multiple coats of paint to completely cover the darker color. Allow
each coat to dry thoroughly before applying the next. Refer to the paint manufacturer’s
recommendations for drying times.
Once the final coat has dried, carefully remove the painter’s tape from edges and trim. It’s best to do
this while the paint is still slightly tacky to avoid peeling or chipping.
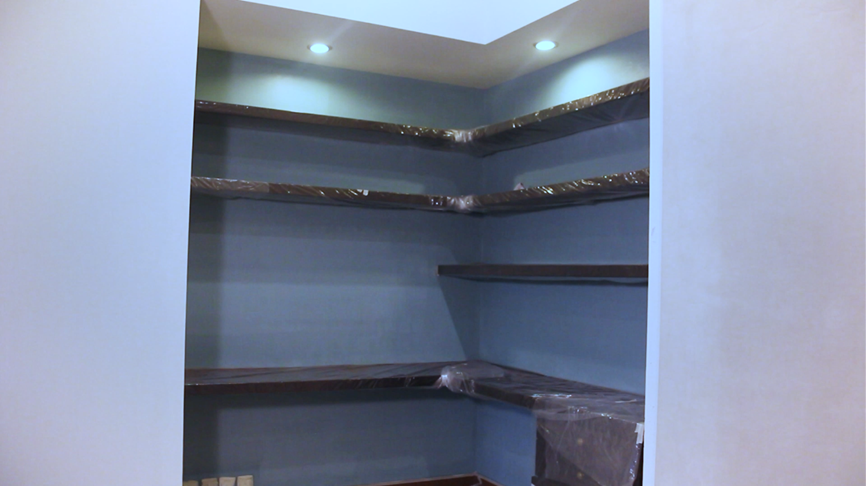
After ensuring the paint is fully dry, move your furniture and belongings back into the room. Admire
your transformed space with its fresh, light-colored walls.
By following these detailed steps, you can confidently convert your wall from a darker color to a lighter one and enjoy a refreshed and brighter living space.
“Master the art of precision with our guide on ‘How to Cut In Around the Edges.’ Discover the techniques for achieving clean and sharp lines while painting walls. Whether you’re a beginner or an experienced DIY enthusiast, our step-by-step instructions and expert tips will ensure your edges are flawless. Say goodbye to paint smudges and uneven borders as you transform your space with confidence and style. Watch our video tutorial for a quick and easy lesson in achieving professional-looking edges during your painting project.”
How to Cut In Around the Edges Universal Brushwares. Step-by-step guides and tutorials
Clear the area around the edges you’ll be painting. Move furniture and items away from the walls to create a clear workspace.
Start by removing all furniture and items from the room. This will create a spacious and clutter-free environment for your painting project.
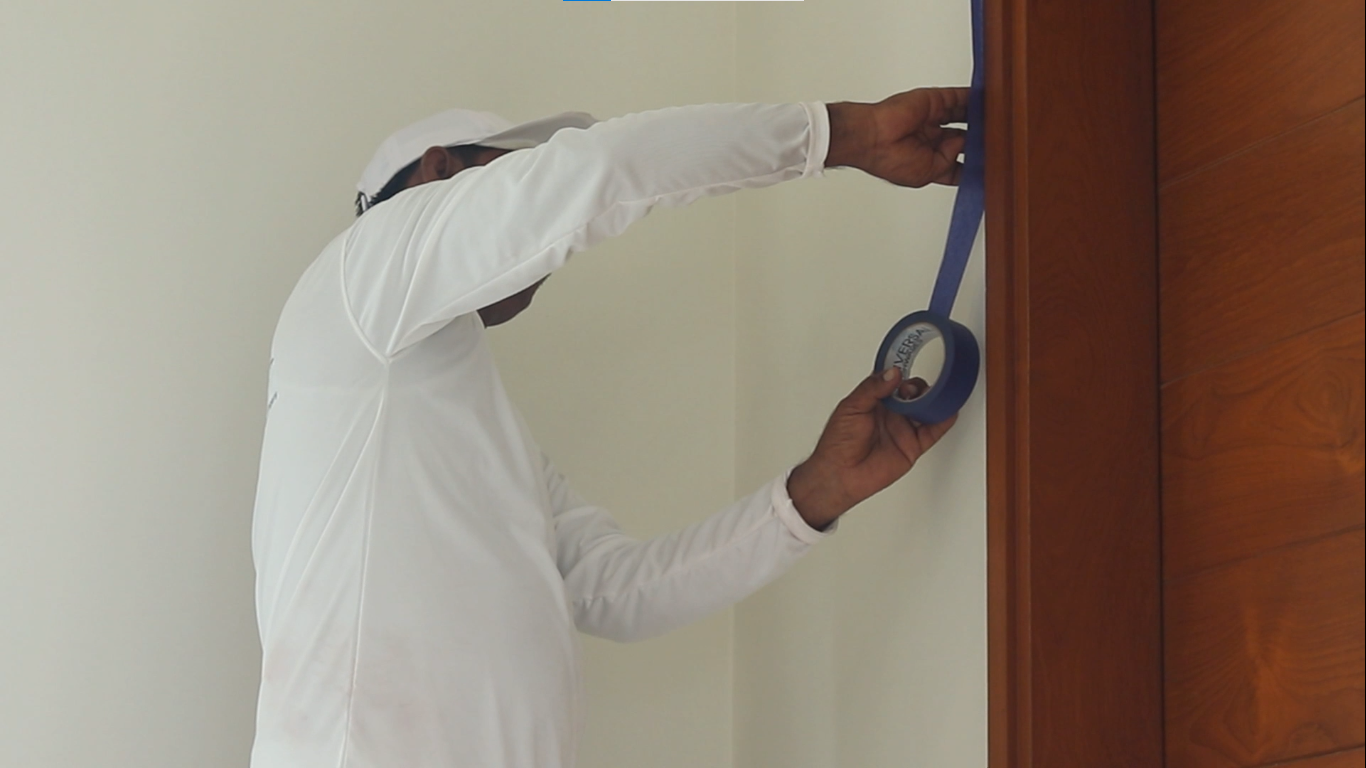
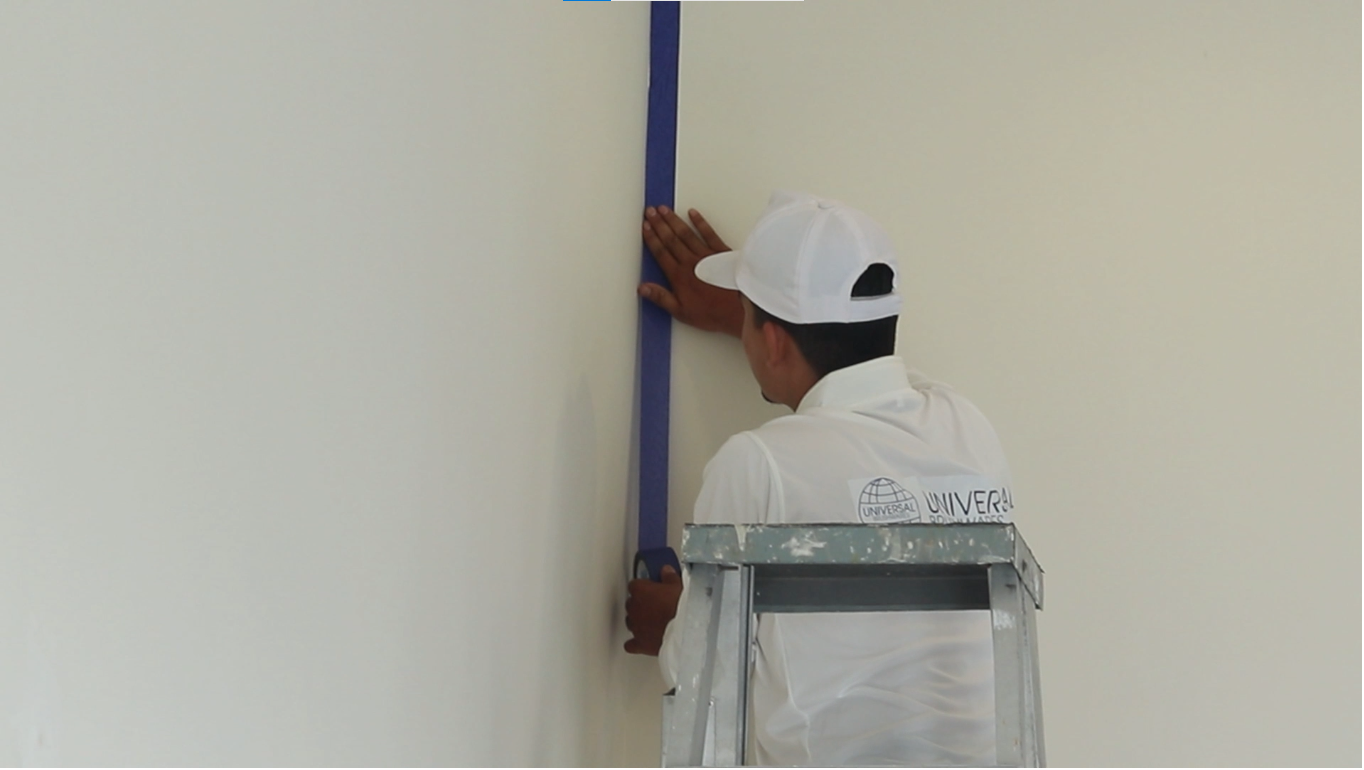
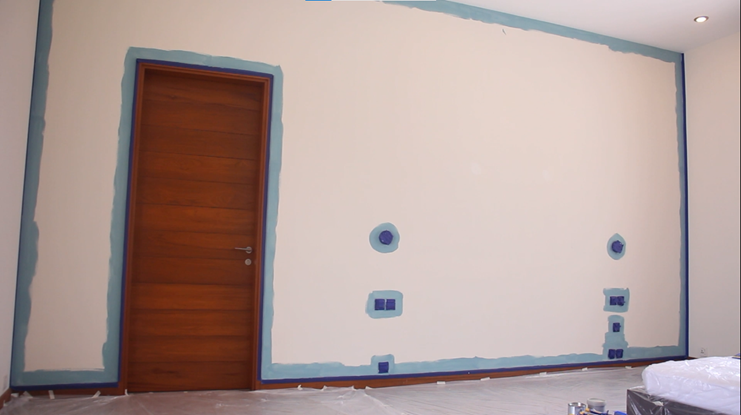
If you want to ensure extra protection for adjacent surfaces (e.g., ceilings, baseboards, or trim), apply painter’s tape along the edges of these surfaces. This will create a clean boundary for your cutting-in work.
Dip the tip of your paintbrush into the paint, allowing the bristles to absorb the paint without overloading them. You want enough paint to work with but not so much that it drips.
Begin in a corner or at the top of the wall near the ceiling. Hold the brush at a slight angle, with the bristles facing the area you’re painting.
Carefully draw a straight line along the edge, moving the brush horizontally. Work slowly and steadily to create a clean and straight line.
Hold the brush at a slight angle, with the bristles facing the area you’re painting.
Work slowly and steadily to create a clean and straight line. Use controlled, smooth strokes.
As you work, periodically go back over the painted edge with light, feathering strokes to blend the cut-in paint with the rest of the wall. This helps eliminate any visible brush marks and ensures a seamless transition.
If you used painter’s tape to protect adjacent surfaces, carefully remove it while the paint is still slightly tacky to achieve clean lines.
By following these steps, you’ll become skilled at cutting in around the edges, creating precise and professional-looking results when painting your walls.

Welcome to our comprehensive guide on “How to Paint a Wall.” Whether you’re a DIY enthusiast or a beginner, our easy-to-follow video and step-by-step tutorial will walk you through everything from preparation to applying paint like a pro.
In this tutorial, we’ll show you expert techniques for a professional-quality finish that transforms your space. Let’s begin by getting everything ready: remove furniture, cover with dust sheets, and use good masking tape. You can also watch our video on how to prepare a room for painting.
Before you begin painting, it’s essential to protect your room. Remove furniture and cover everything with dust sheets to avoid accidental splatters or spills.

To ensure a smooth and clean surface, follow these sub-steps:
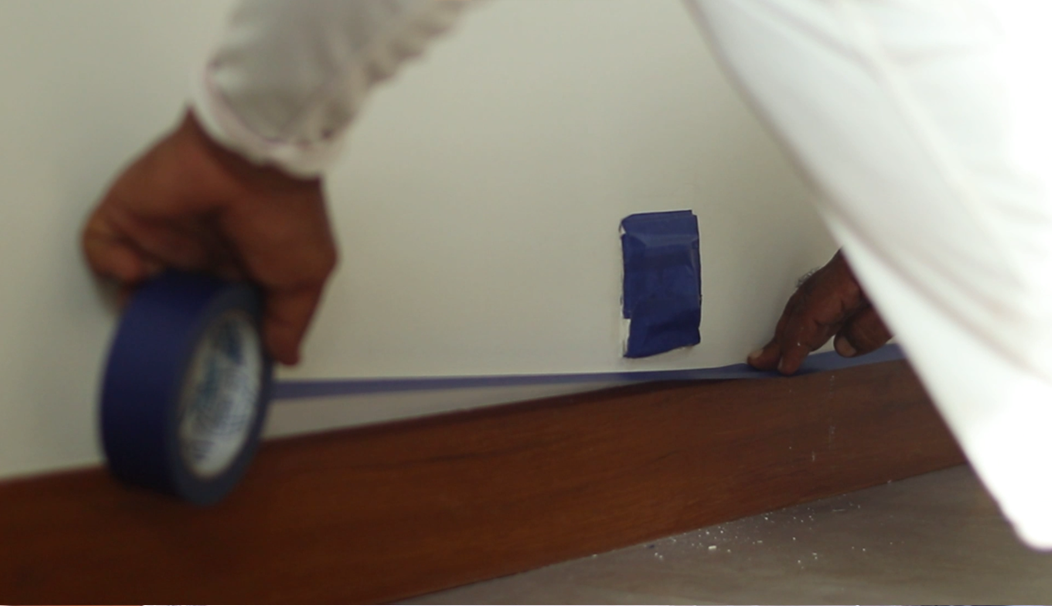
Tape Edges: Use painter’s tape to cover edges and trim for clean lines.
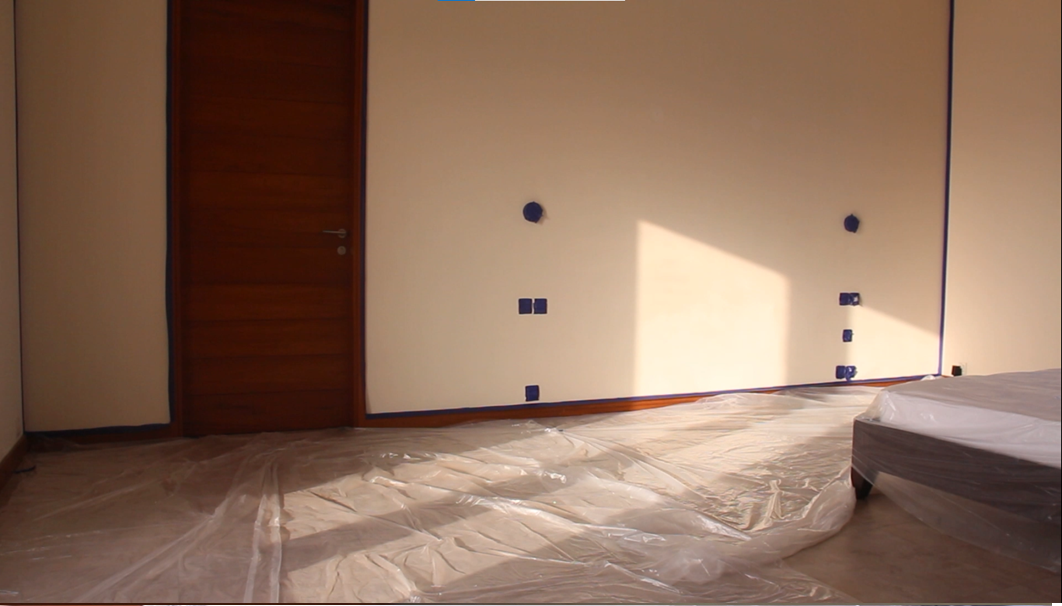
Lay a Dust Sheet: Protect floors from paint drips and splatters.
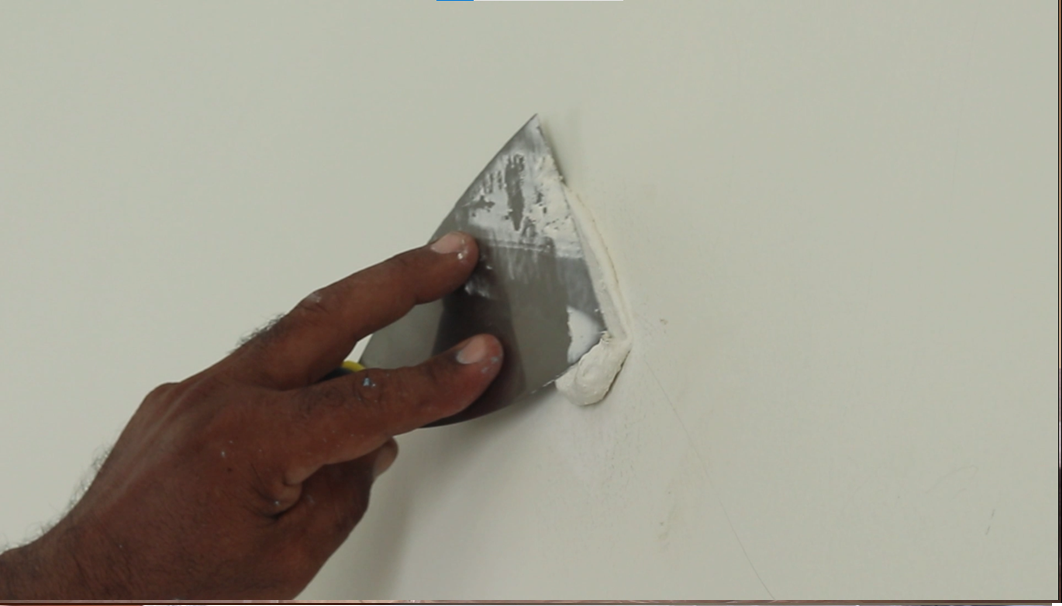
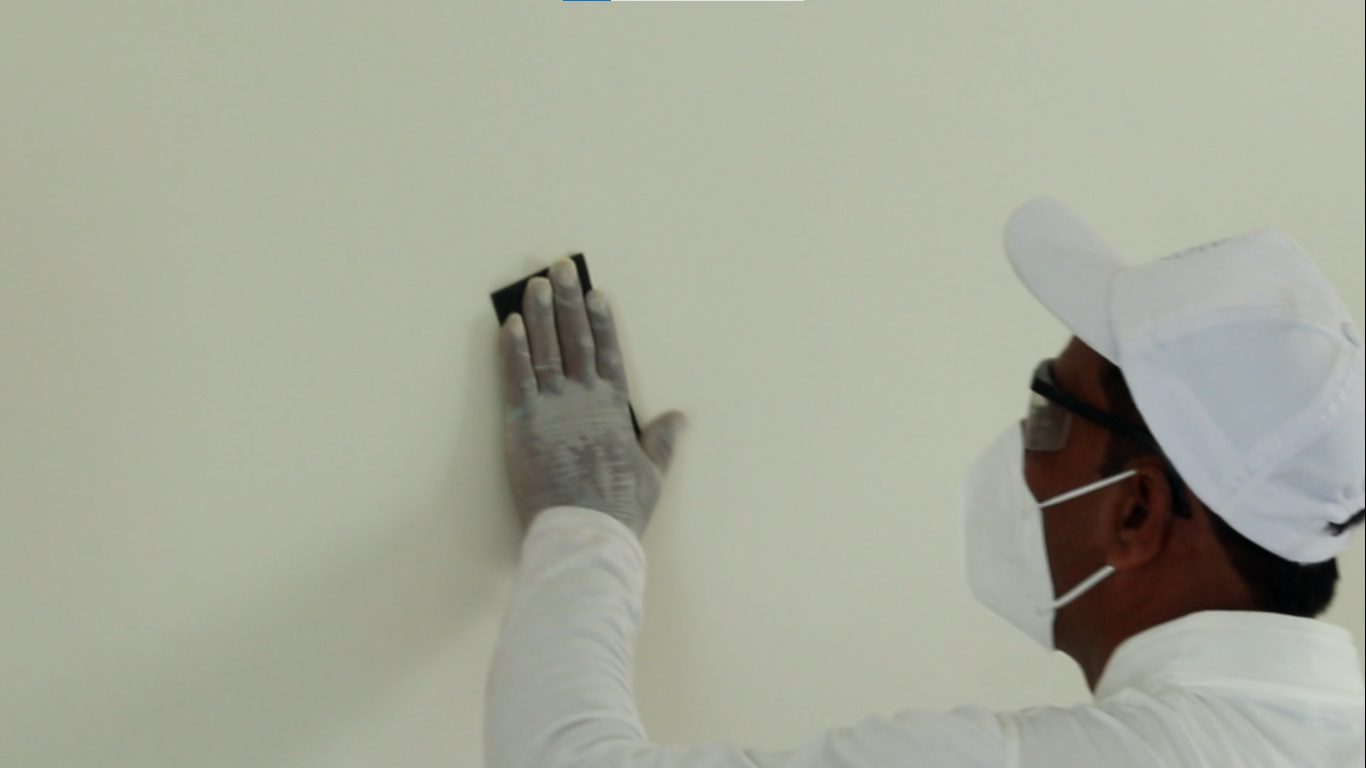
Fill Holes and Sand: Fill cracks, sand smooth, and prep the wall.
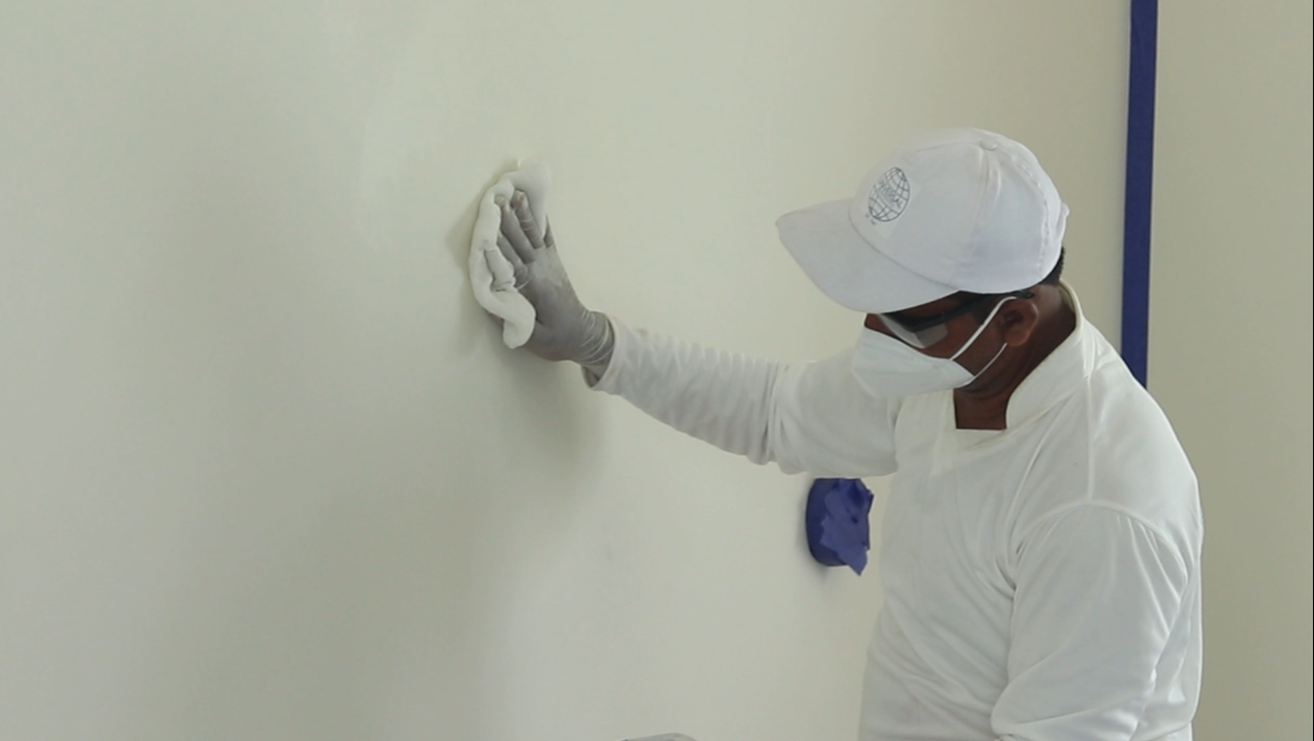
Clean the Surface: Wipe dust and grease to ensure paint adheres well.
For precise edges and corners, follow these steps:

Cut in with Brush: Use a quality brush to carefully paint edges.
This process is called “cutting in” and creates clean lines.
Now, it’s time to apply paint to the main wall area. Here’s how to do it effectively:
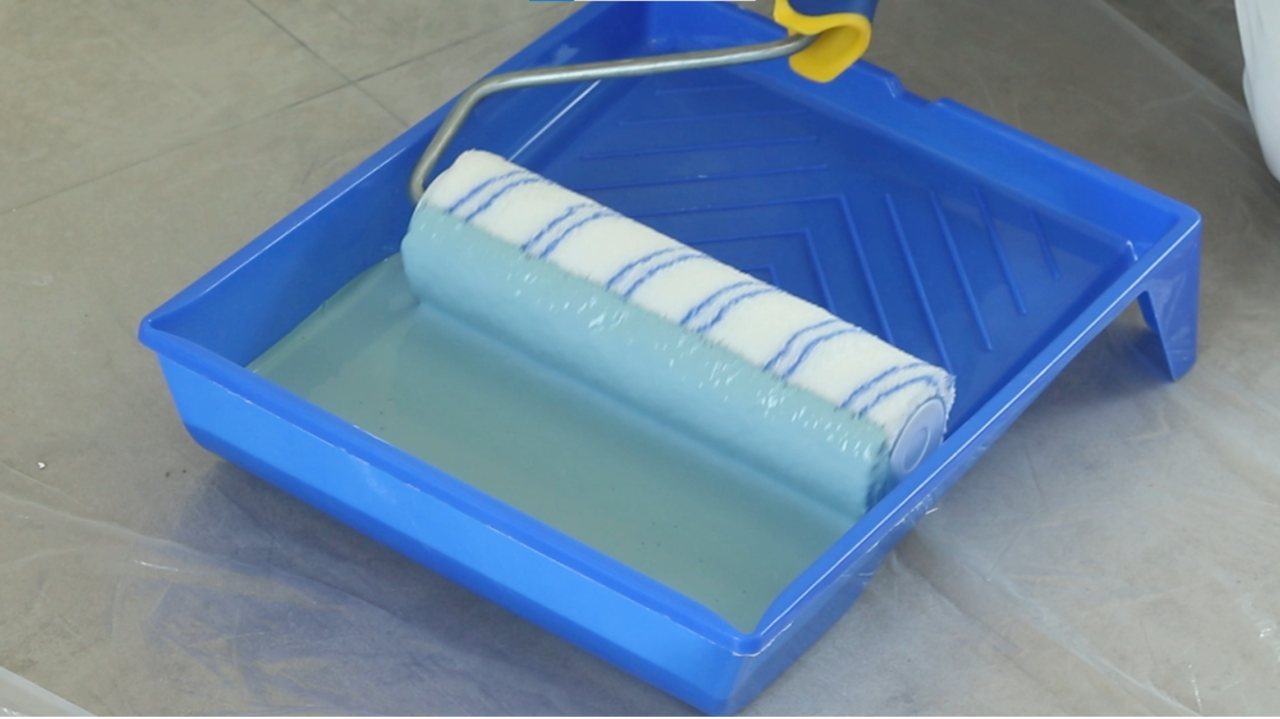
Prepare the Roller: Coat evenly in tray, avoid overloading.
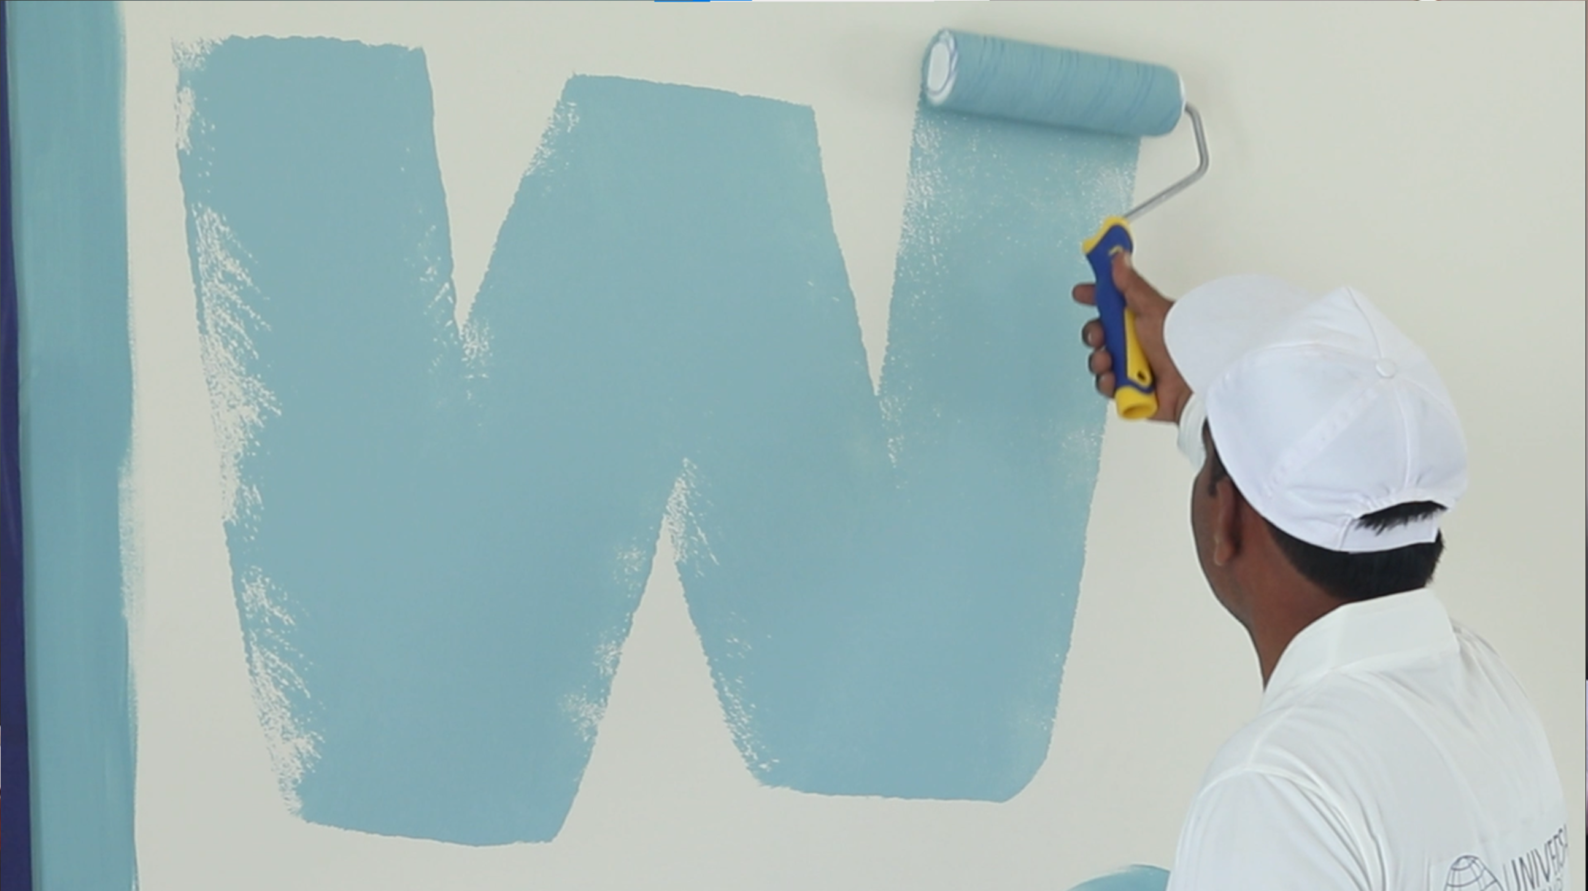
Roll in a “W” motion for even coverage, overlapping slightly.
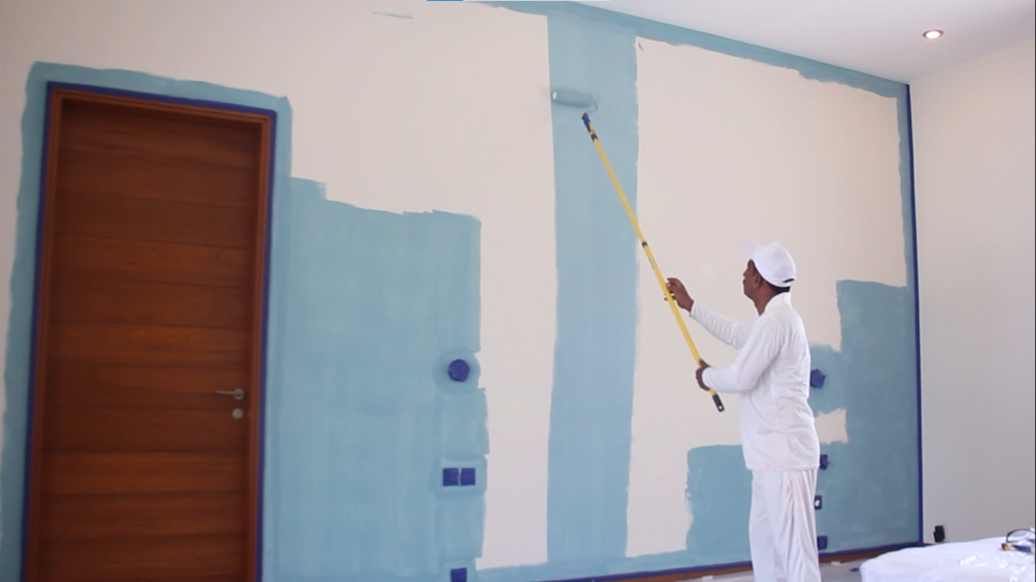
Use an Extension Pole: Reach high or wide areas evenly.
To achieve a richer and more even color, apply a second coat once the first is completely dry. This gives a professional, uniform finish.
Peel tape while paint is still slightly tacky to prevent chipping.